
Welcome to the Audio-Technica Record Player Manual, your comprehensive guide to setting up, operating, and maintaining your turntable for optimal performance and longevity.
1.1 Overview of the Audio-Technica Turntable Models
Audio-Technica offers a diverse range of turntable models, catering to both beginners and audiophiles. Popular models include the AT-LP60XBT, AT-LP120XUSB, and AT-LPW30TK. Each model varies in features, from fully automatic to manual operation, and includes options like wireless connectivity, USB recording, and advanced cartridge upgrades. The AT-LP60XBT is ideal for entry-level users, while the AT-LP120XUSB appeals to professionals with its direct-drive design. Belt-drive models like the AT-LPW30TK provide high-fidelity sound and durability. Whether you prefer automatic convenience or manual control, Audio-Technica ensures quality and versatility across its product line.
1.2 Importance of Reading the Manual for Optimal Performance
Reading the Audio-Technica record player manual is essential for unlocking your turntable’s full potential. It provides detailed insights into model-specific features, proper setup, and maintenance routines. Understanding the manual ensures you avoid misuse, which could damage the stylus or motor. Plus, it guides you through troubleshooting common issues, saving time and frustration. By following the manual, you can achieve optimal sound quality, extend the lifespan of your turntable, and enjoy a seamless vinyl listening experience. It’s a crucial step for both new and experienced users to maximize their investment and enhance their audio enjoyment.

Setting Up Your Audio-Technica Record Player
Proper setup ensures optimal performance and longevity. Follow the manual’s guidance for unboxing, assembly, and connecting to your audio system for a seamless experience.
2.1 Unboxing and Initial Inspection
Begin by carefully unboxing your Audio-Technica record player, ensuring all components are included and undamaged; Check for the turntable, platter, tonearm, cartridge, and accessories. Inspect the belt, cables, and mat for proper condition. Verify that no parts are loose or scratched. If any items are missing or damaged, contact customer support immediately. This initial inspection ensures a smooth setup process and prevents future issues. Once confirmed, proceed to the assembly and installation phase with confidence.
2.2 Step-by-Step Assembly and Installation
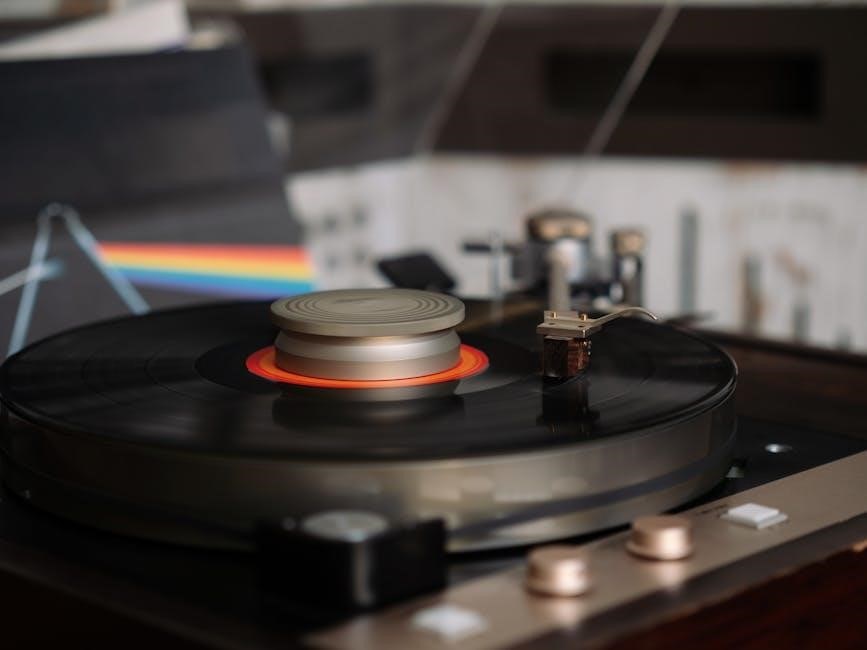
Begin by attaching the platter to the spindle, ensuring it is securely locked in place. Next, position the felt mat on the platter to protect your records. If your model requires a belt, carefully loop it around the motor pulley and platter. Install the cartridge onto the tonearm, following the manual’s alignment guide. Gently balance the tonearm by adjusting the counterweight until it floats evenly. Finally, secure any cables to the amplifier or speakers. Double-check all connections and ensure the turntable is placed on a stable, level surface. If unsure, consult the manual for specific instructions.
2.3 Connecting the Turntable to Your Audio System
To connect your Audio-Technica turntable, start by locating the RCA output cables. Attach the red and white connectors to the corresponding phono inputs on your amplifier or receiver. If your system has a dedicated phono stage, ensure it is enabled. For turntables without a built-in preamp, connect the RCA cables to an external phono preamplifier first. Secure the grounding wire to your amplifier to prevent hum. Finally, power on your system and test playback to ensure proper connection. If using Bluetooth or USB features, refer to the manual for additional setup instructions.
Operating the Turntable
Learn to play records smoothly by mastering basic operations, including start, stop, and cueing. Adjust playback speed and handle the tonearm with care for optimal performance.
3.1 Understanding Automatic vs. Manual Operation Modes
Audio-Technica turntables often feature automatic and manual operation modes. Automatic models lift and return the tonearm, simplifying record playback. Manual modes require users to handle the tonearm, offering more control. Automatic modes are ideal for beginners, while manual modes suit audiophiles. Both modes ensure high-quality sound but cater to different user preferences. Understanding these modes helps optimize your listening experience. Always refer to the manual for specific model details, as some turntables may combine or modify these features to enhance functionality and ease of use.
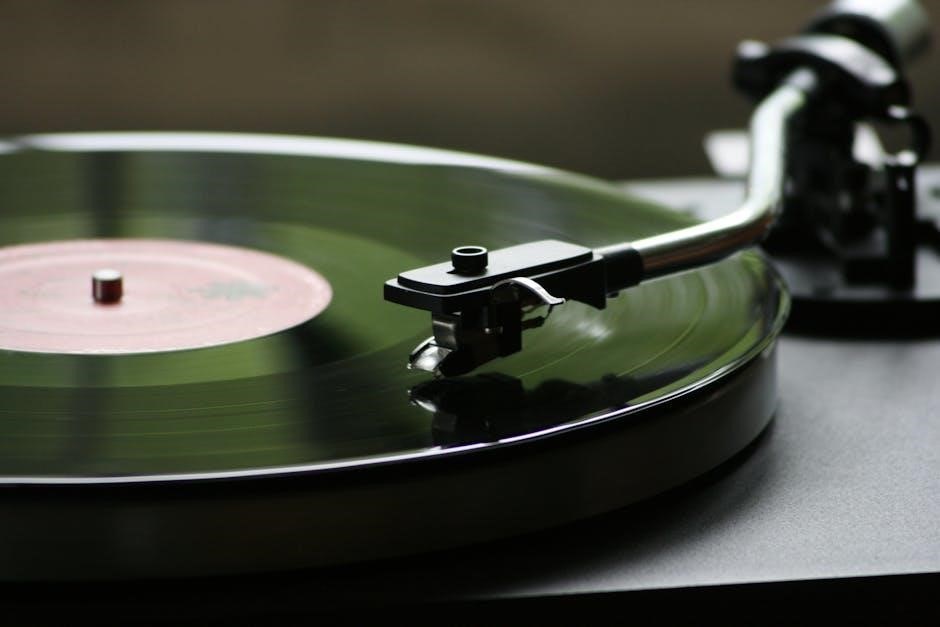
3.2 Adjusting the Tonearm and Tracking Force
Adjusting the tonearm and tracking force ensures optimal sound quality and prevents damage. Locate the counterweight on the tonearm and move it to set the tracking force as specified in the manual. Use a tracking force gauge for accuracy. Ensure the tonearm is balanced horizontally for even tracking. Check the anti-skate setting if applicable. Play a test record to verify proper tracking. Follow manufacturer guidelines to avoid over-tightening or under-tightening, ensuring optimal performance.
3.3 Playing Your First Record: A Beginner’s Guide
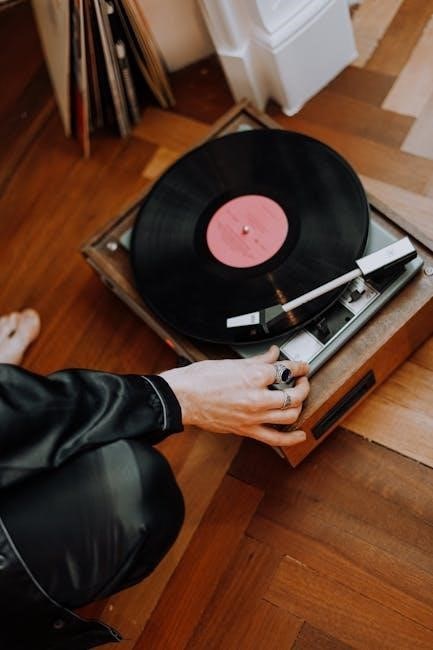
Place the record on the platter, ensuring it is centered and secure. Gently remove the protective sleeve and handle the record by the edges to avoid fingerprints. Locate the tonearm lifter and carefully lower it onto the record’s groove at the start. Start the motor manually or use the automatic feature, depending on your model. Once the needle drops, the record will begin playing. Adjust the volume on your amplifier or speaker for optimal sound. After the record finishes, lift the tonearm and return it to its rest position to protect the stylus and record surface.

Maintenance and Care
Regular cleaning of the turntable and stylus ensures optimal performance. Use a soft cloth to wipe the platter and avoid touching the stylus to prevent damage.
4.1 Cleaning the Turntable and Record Surface
Proper cleaning is essential for maintaining sound quality and longevity. Use a soft, dry microfiber cloth to gently wipe the turntable platter, removing dust and debris. For the record surface, lightly brush with a carbon fiber record brush before playback. Avoid using harsh chemicals or excessive moisture, as they can damage the equipment. Regularly clean the tonearm and stylus with a specialized cleaning solution to prevent dust buildup. For stubborn grime, apply a small amount of cleaning fluid to a microfiber cloth and gently wipe the record surface in a circular motion, starting from the outer edge toward the center.
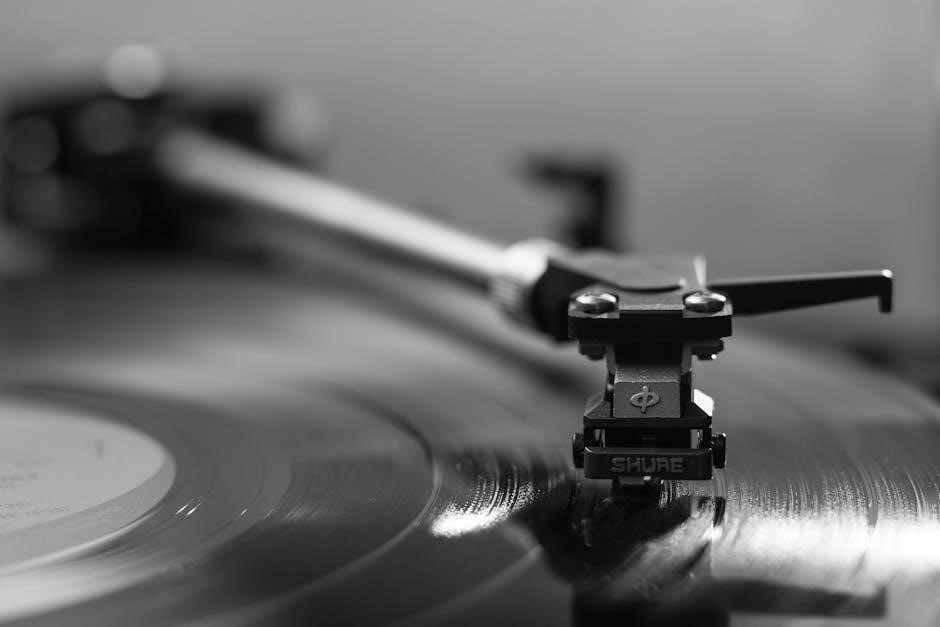
4.2 Proper Handling of the Stylus and Cartridge
Always handle the stylus and cartridge with care to ensure optimal performance and longevity. Avoid touching the stylus tip directly, as oils from your skin can damage the cartridge. Use the supplied stylus brush to gently remove dust or debris. When removing or installing the cartridge, hold it by the edges to avoid damaging the internal components. Proper alignment is crucial for even wear on the stylus and records. Store the stylus in its protective case when not in use to prevent accidental damage. Regular inspection ensures the cartridge remains secure and properly seated.
4.3 Regular Maintenance Tips for Longevity
Regular maintenance is essential to extend the life of your Audio-Technica record player. Clean the platter and motor housing with a soft cloth and mild detergent. Inspect and replace the drive belt periodically to ensure smooth rotation. Lubricate the bearing with a small drop of high-quality silicone oil, avoiding over-lubrication. Check the turntable mat for wear and replace it if necessary. Ensure the unit is placed on a level surface to prevent uneven wear. Finally, regularly inspect the RCA cables and connections for damage or oxidation to maintain optimal audio quality and performance.
Troubleshooting Common Issues
Identify symptoms like uneven rotation or distorted sound. Check connections, clean the stylus, and ensure proper leveling. Refer to the manual for specific solutions.
5.1 Diagnosing Issues with the Motor or Platter
If your record player’s motor is malfunctioning, check for unusual noises, speed inconsistencies, or failure to start. Inspect the platter for wobbling or uneven rotation. Ensure the power cord is securely connected and the unit is placed on a level surface. Dust or debris on the motor or platter can disrupt performance. Clean gently with a soft brush or cloth. If issues persist, consult the manual for reset procedures or contact Audio-Technica support for further assistance. Regular maintenance can prevent such problems and ensure smooth operation.
5.2 Resolving Audio Distortion or Uneven Sound
Audio distortion or uneven sound can result from improper tracking force, misaligned cartridges, or dirty records. Check the tonearm balance and adjust the tracking force as per the manual. Ensure the cartridge is securely mounted and aligned correctly. Clean the stylus and record surface thoroughly with a soft brush and appropriate cleaning solutions. Verify all connections to the phono stage or amplifier are secure. If distortion persists, try adjusting the anti-skate setting or equalization settings on your preamp. Consult the manual for specific guidance or contact support for further troubleshooting.
5.3 Fixing the Tonearm Alignment and Balance
To fix the tonearm alignment and balance, start by ensuring the turntable is on a level surface. Refer to the manual for specific instructions, as alignment tools may vary by model. Use the provided protractor or alignment tool to adjust the cartridge, ensuring it aligns with the record grooves. Adjust the counterweight until the tonearm floats evenly without tilting. Check the anti-skate setting and fine-tune it to prevent lateral movement. If the tonearm wobbles, tighten the pivot pin gently. Proper alignment ensures even tracking force, preventing distortion and uneven wear on records. Always handle the tonearm with care to avoid misalignment.
Advanced Features and Customization
Explore advanced features like upgrading cartridges, adjusting bias settings, and enabling wireless connectivity to enhance your listening experience. Customize your Audio-Technica record player for optimal sound quality.
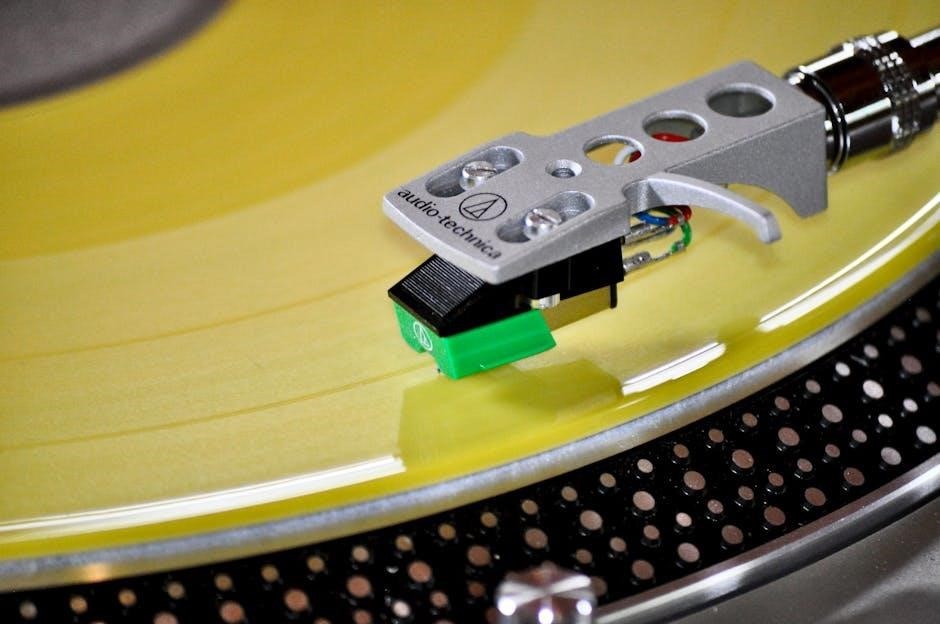
6.1 Upgrading the Cartridge for Better Sound Quality
Upgrading the cartridge on your Audio-Technica record player can significantly enhance sound quality. Choose a compatible cartridge that matches your turntable model for optimal performance. Ensure the new cartridge is properly aligned and secured to avoid damage to the stylus or records. Refer to the manual for specific installation steps, as improper handling can affect sound accuracy. Experiment with different cartridge styles, such as moving coil or moving magnet, to find the perfect balance of clarity and warmth for your listening preferences; Regularly clean and maintain the cartridge to preserve its longevity and audio fidelity.
6.2 Adjusting Anti-Skate and Bias Settings
Adjusting the anti-skate and bias settings on your Audio-Technica record player ensures optimal tracking force and prevents uneven record wear. The anti-skate adjustment counteracts the natural pull of the tonearm, keeping it centered for accurate playback. Bias settings fine-tune the lateral force, ensuring the stylus tracks the groove evenly. Use the provided controls to make precise adjustments, referencing the manual for specific guidance. Proper calibration enhances sound quality and extends the life of your records and stylus. Experiment carefully, as over-adjustment can lead to distortion or misalignment.
6.3 Exploring Wireless Connectivity Options
Many Audio-Technica record players offer wireless connectivity, enhancing convenience and modernizing your vinyl experience. Bluetooth-enabled models allow seamless streaming to wireless speakers or headphones. To pair devices, refer to the manual for specific instructions, often involving a dedicated Bluetooth button. This feature is ideal for integrating your turntable into a modern audio setup. While wireless connectivity offers flexibility, ensure a stable connection to maintain sound quality. Experiment with different setups to find the perfect balance between convenience and audio fidelity, making your listening experience both enjoyable and hassle-free;
Additional Resources and Support
- Access the official Audio-Technica manual online for detailed guides and troubleshooting.
- Visit the Audio-Technica website for FAQs, firmware updates, and customer support.
- Engage with community forums for user tips and expert advice.
7.1 Accessing the Official Audio-Technica Manual Online
To access the official Audio-Technica record player manual, visit the Audio-Technica website and navigate to the “Support” section. Select your specific turntable model from the product list. Download the PDF manual directly from the website for detailed instructions and troubleshooting guides. Ensure you have the correct model number for accurate information. If you encounter issues, contact Audio-Technica customer support for assistance. Bookmark the page for easy future reference and access to updates or additional resources.
7.2 Community Forums and Expert Advice
Engage with community forums and expert advice to enhance your Audio-Technica record player experience. Websites like Reddit’s r/audiotechnica and specialized vinyl enthusiast forums offer valuable insights and troubleshooting tips. Interact with fellow users and experts to discuss model-specific features, maintenance, and upgrades. These platforms often include detailed guides and personal experiences, helping you optimize your setup and address common issues. Additionally, expert advice from seasoned audiophiles can provide tailored solutions and recommendations for accessories or modifications. Participating in these communities fosters a deeper understanding and appreciation of your record player.
7.3 Warranty and Customer Service Information
Audio-Technica provides a comprehensive warranty for their record players, ensuring protection against manufacturing defects. Register your product to activate the warranty, which typically covers parts and labor for a specified period. For customer service, contact Audio-Technica via phone, email, or their official website. Their support team offers assistance with troubleshooting, repairs, and replacement parts. Additionally, visit the official website for detailed FAQs, user manuals, and service center locations. For international customers, regional service centers provide localized support. This ensures seamless assistance and maintains your record player’s performance and longevity.
Concluding your Audio-Technica journey, enjoy the vinyl experience and appreciate the rich sound quality. Always maintain your record player, explore new music, and cherish the listening journey.
8.1 Final Tips for Enjoying Your Audio-Technica Record Player
For the best experience, create a dedicated listening space free from distractions. Experiment with different genres to explore vinyl’s depth. Regularly clean records and the stylus to preserve sound quality. Store records upright in a cool, dry place to prevent warping. Consider upgrading your cartridge for enhanced audio fidelity. Lastly, enjoy the tactile joy of vinyl and share your passion with others to keep the analog tradition alive.
8.2 Encouragement to Explore More Vinyl Listening Experiences
Embrace the timeless charm of vinyl by exploring diverse genres and eras. Discover hidden gems in thrift stores or record shops, and attend vinyl events to connect with fellow enthusiasts. Invest in high-quality accessories like phono preamps or speakers to elevate your sound. Experiment with different cartridge styluses to enhance audio clarity. Share your passion by hosting listening sessions or gifting records to friends. Dive into the rich history of vinyl and let it become a cherished part of your musical journey. Happy spinning!